Table of Contents
Delimited Connector Application Onboarding on SailPoint: A Step-by-Step Guide for Identity and Access Management
We will learn about Delimited Connector Application Onboarding in this article.
In order to manage Identity and Access Management for the applications, we must first understand what Application Onboarding is. Application Onboarding is the process of integrating any application into SailPoint.
If have not installed sailpoint in you local system yet click here. This will help you how to install sailpoint end to end process.
Let’s discuss the Delimited Connector Application Onboarding overview.
The delimited connector file is a OOT box connector which supports both account aggregation and group aggregation.
The features that Delimited Application connector supports ,
- This connector reads data from the file which is locally stored or from FTP,FTPS,SCP and SFTP.
- This connector supports files separated with comma, pipe, semicolon and regular expression.
- This connector supports the Filtering, example: how many lines have to be skipped.
- This connector supports the Merging, example: how many records to be merged.
- This connector supports the Iteration Partitioning, example: how many batch records have to be created.
Now we are going to discuss the step by step process of Delimited Connector Application Onboarding.
I will take sample data and I will store it in my local system. Why because it will be more understandable for us and if any one doesn’t have data i will provide data so can practice in your in your sailpoint identityiq.
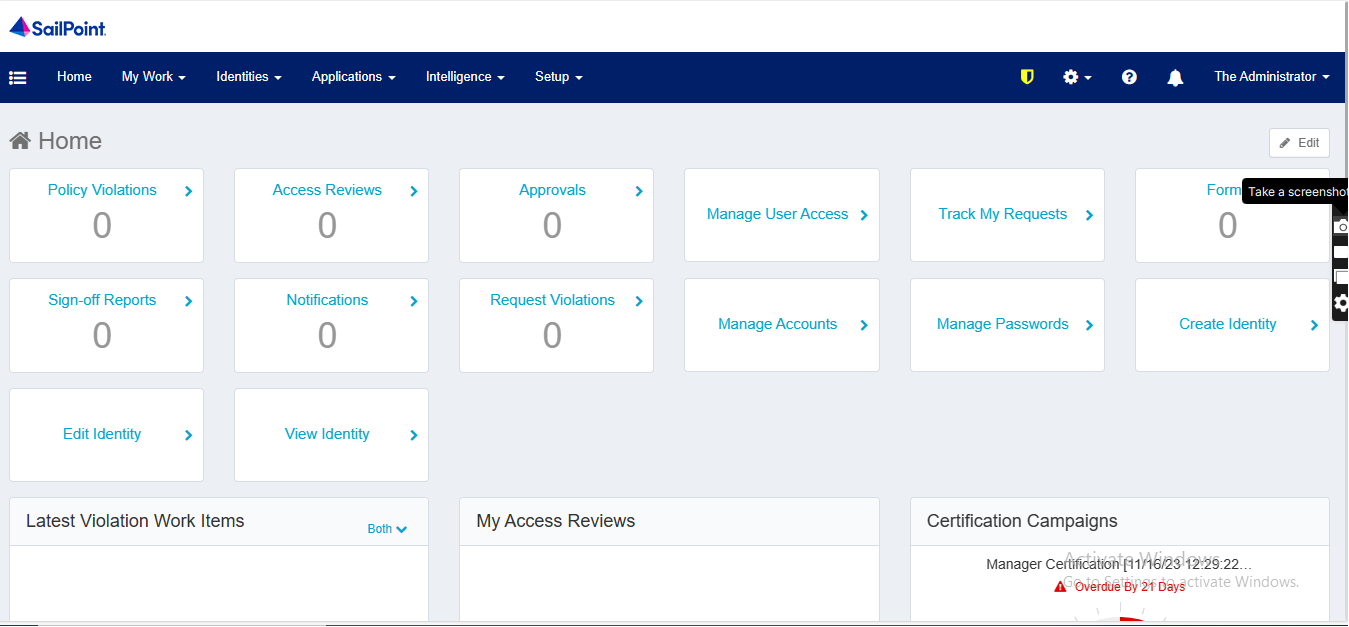
Once you login into the sailpoint identityiq, you can see the dashboard of the sailpoint. Here you can see multiple tabs. You have to select the “Applications” tab.

Once you select the Application Tab you can see the UI of the image as shown below.
Applications –> Application Definition
Here you have to click on the “Application definition” after clicking on this you can see the UI as shown in the below image.
Note: If you have freshly logged into sailpoint you won’t see any applications under the Application definition. Don’t worry we will discuss frequently using connectors in Organizations end to end.
Here we have to click on the “Add New Application” , Once you click on this you can see the UI in the image below.
Delimited Connector
A delimited file is a form of text file which is designed to store data where each value or field separated or delimited by a sequence of characters. The frequently used delimiter characters are include commas (,), tabs (\t), and semicolons (;).
Here you have to give the name of your “Application” under the “Name” Tab , owner of the “Application” under the “Owner” Tab and In “Application Type” you have to select “DelimitedFile” and remaining tabs are Optional ,These tabs are used based on requirements.
In the below image I have given my file details and once you select Application type as “DelimtedFile” you will see the remaining tabs.
Configuration → Settings → File
File path: My file is stored in my local computer . I have to give the path where my file is stored and I have to give the complete drive location “D:\HR.csv”.
Parsing Type : Delimited.
File Transport : local.
Delimiter : My file is with comma(,) separated i have to give , in delimiter.
File has column header on first line : My file contains headers , so i have to check this box.
In the configuration Tab under “Settings → File” you have to give the required details like “File Path“, “Parsing Type”, “File Transport” and “Delimiter”. As shown in the below image.
Settings → Schema → Discover Schema Attributes
Once you completes the “Settings” part click on the “Schema” tab under this click on the “Discover Schema Attributes“
Once you click on the Discover Schema Attributes you can see all the Attributes present in your file , and You have to give Identity Attribute and Display Attribute.
Identity Attribute: The Attribute which contains unique values.
Example: EmployeeID, everyone has their unique employee number.
Display Attribute: The Attribute displays row of data. Example: Name.
I have given Identity Attribute as “EmployeeID” and Display Attribute as “Name” as you can see in the below image.
After completing this click on the “Preview” tab , then you can see the data.
Note: we can see only 10 records.
As shown in the below image.
Final step comes back to the “Settings” tab click on the “Test Connection“. Once you click on this tab you will see a message “Test Successful“. Then click on the “Save” tab you can below the “Test Connection” tab.