Table of Contents
How to Install SailPoint IdentityIQ-8.4 in Windows 11
Introduction
Welcome to the guide for installing SailPoint IdentityIQ version 8.4 on your local machine. Please note that the installation steps outlined here are designed for non-production environments.
Let’s get started on your journey to explore IdentityIQ. This installation guide will walk you through the steps, making it easy to set up on your local machine.
Now, let’s dive into the world of SailPoint IdentityIQ together and make the most of your local installation experience. Please do not hesitate to ask for help along the process if you have any questions. Happy exploring!
Installation Steps:
For Sailpoint IIQ installation, we need some software’s, and the software’s is listed in the steps below.
- Java (11.0.18_windows-x64_bin.exe): JDK
- MySQL Database (mysql-installer-community-8.0.18.0) Database Server
- Apache Tomcat (apache-tomcat-9.0.1-windows-x64): Application Server
- IdentityIQ (Identityiq-8.4.zip)
Note: identityiq.zip should contain database scripts and war files.
Step 1: JDK Installation
Click Here to Download JDK 11
- Download JDK, Once the JDK successfully downloads, run the installer as an administrator. During installation, accept the default wizards.
- After the installation is successfully completed.
- Go to the Windows button and type Click on it to “Edit the system environmental variables.“

Then click on environmental variables.

- Under “environmental variables” we have to set Variable & Value for user variables and system variables.
- In “User variables,” click on the edit button and add JAVA_HOME as the variable name and the path to your JDK where you have installed it on your local machine.

- Once the Environment variables setup is complete, we have to test your JDK .
- Go to the command prompt and enter javac -version and java version . If these two commands return information about your Java-installed version of the toolkit, which means your JDK has been installed successfully
Step 2: MySQL Installation
- Download MySql Installer
- Double-click on the MySQL installer.
- You can accept the default wizard options for installation.
Click Here to Download MySQL 8.0
Note: During the installation process, one or more requirements may fail due to your local machine not having updated software. Please ignore it and move on to the next steps. If it is a mandatory requirement, the installation could not progress further,even if you continued.
- During the setup, under “Accounts and Roles,” you need to choose a root password for your MySQL database.
Note:Make note of this password, which you will need later for other configuration steps.

After the completion of the installation
If you search for MySQL on your local machine, you can see the installed components.

Step 3: Install Apache Tomcat 9.0 Server
- Download Apache Tomcat 9.0 as an installer
Click Here To Download Apache Tomcat 9.0
- Note: Installing JDK is a prerequisite before installing Tomcat.
- To run the installer as an administrator, right-click on it and select Run.
- During the installation, accept the default wizards with two exceptions.
- Check Host Manager to include it with the installed components.
- Change the Tomcat install directory to C:\SailPoint\tomcat..

Check the “Host Manager” checkbox , if you want “Example” you select.
. Then click on Next.

Give your own “Username” and “Password” , and click on Next.
Note: Try to make a note of your passwords.

By default it will take the JDK path , In case it didn’t take , then give the path of your “Java” where you have stored. Then click on Next.

.By default it will take your destination path as shown in below, In case it didn’t then you have to give manually the where you have stored.
At last click Install.

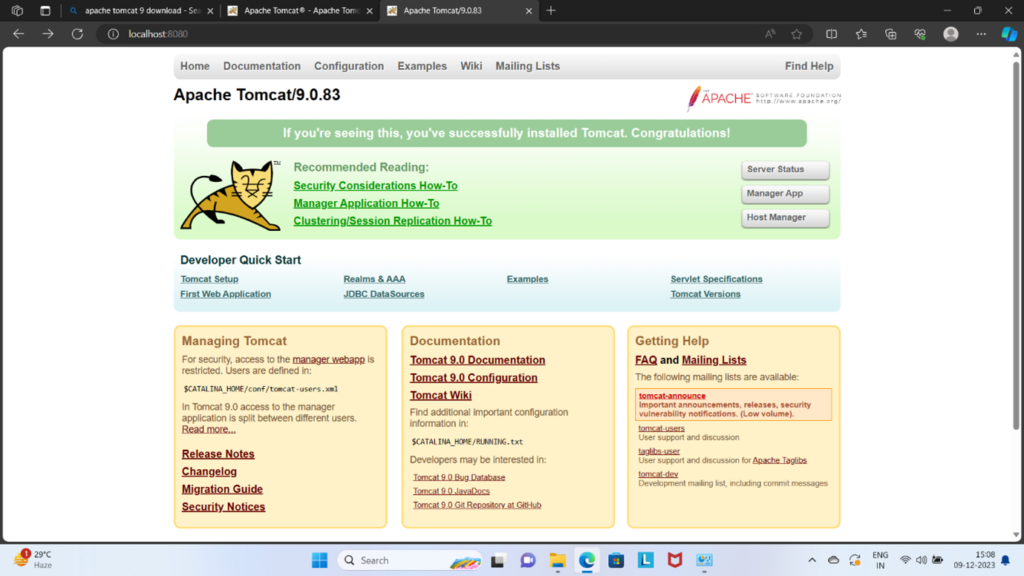
Once the installation is complete, test whether your Tomcat is successfully configured or not.
To test this one on any browser on your local machine, type this URL: http://localhost:8080. The Tomcat splash screen indicates a successful install.

Step 4: IdentityIQ Installation
Note: To download the IdentityIQ file, you may need to login to the Sailpoint community. The file will be available in the Sailpoint community.
- Download identityiq-8.4 zip file.
- Create a \identityiq directory under the Tomcat webapps directory.

- Unzip the identityiq-8.4 file in the default path and copy the content into the identity directory.
Or
- You can directly unzip the identityiq-8.4 into the identityiq directory.
- database: contains the scripts to create or configure schemas, which will be used by IdentityIQ for working.
- doc: contains documents related to installation.
- Integration: Contains a list of connectors to connect to IdentityIQ with different tools.
- identityiq.war: This war file can be deployed on an application server (Tomcat) to run IIQ.
- Extract the identityiq.war file, go to the command prompt, and give the path of the identityiq.war file where it is located. Ex: C:\Program Files\Apache Software Foundation\Tomcat 9.0\webapps\identityiq.
Enter the command jar -xvf identityiq.war

In IdentityIQ,you will have the extracted content of the war file.

- The creation of a database schema comes next.
- Go to the command prompt and change to the C:\Program Files\Apache Software Foundation\Tomcat 9.0\webapps\identityiq\WEB-INF\bin directory.
- Enter the command iiq schema to create the schema

- The creation of a database schema comes next.
- The create_identityiq_tables-8.4.mysql file contains the scripts to create the tables.
- Open the MySQL command line client, It will ask you to enter the password. Give the password that you created while installing MySQL.
- Enter the command source + path where your database is placed.
- Ex: source C:\ProgramFiles\ApacheSoftwareFoundation\Tomcat 9.0\webapps\identityiq\database\create_identityiq_tables-8.3.mysql

You will be able to see IdentityIQ databases in MySQL once the execution is finished.

- Go to the command prompt and change to the C:\Program Files\Apache Software Foundation\Tomcat 9.0\webapps\identityiq\WEB-INF\bin directory.
- Type iiq console, and then,
- Enter the commands. import init.xml and import init-lcm.xml These two commands are to see workflows in sailpointIIQ.


At last, restart your Tomcat server.

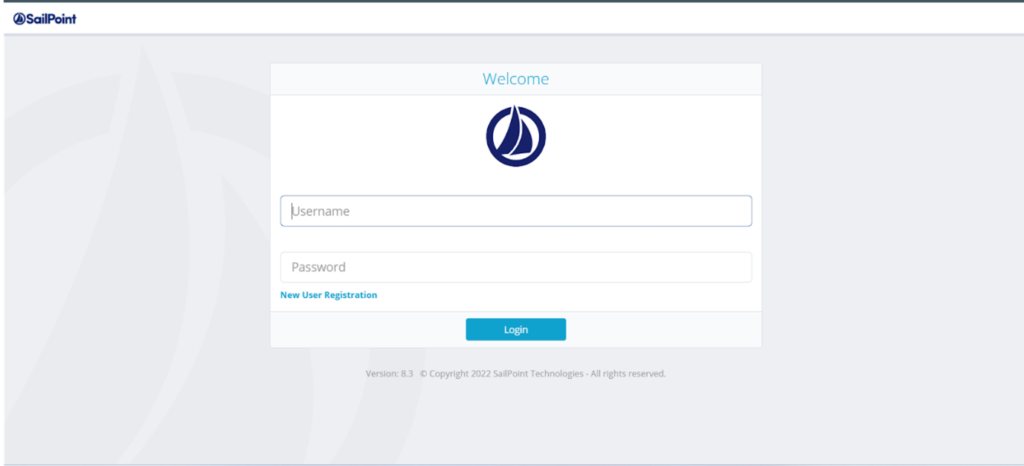
- Go to the browser and enter the address http://localhost:8080/identityiq/.
- For the first time, it will take a few seconds to respond.
- if you’ve completed the steps like we did, you will see the “identityiq” under Application “path” column and “true” in Running column as shown below.
- Click on identityiq under Application “Path” column.

. Give “Username” as spadmin and “Password” as admin.

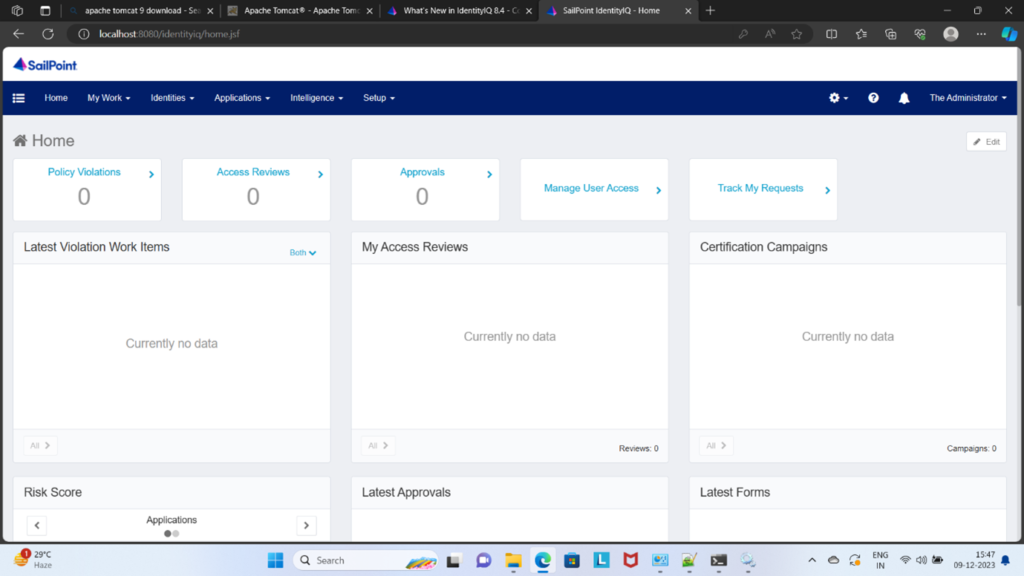
. Finally you will the “HomePage” as shown below

. Click on the “tribar” beside “Home” tab in the above. Once you select you see the “QuickLinks” in the below image as shown below.

